Classic British Flapjack Recipe with Golden Syrup
A proper British flapjack: porridge oats, butter, light muscovado sugar and golden syrup, baked until the edges are golden and the middle stays chewy. Four ingredients, one tin, twelve bars.
This website is devoted to that one bake: the classic recipe, the variations worth knowing, and the small details that decide whether yours turn out chewy and neat or hard and crumbly. Exact quantities, times and oven temperatures are in the full recipe further down this page — read on to understand the bake first, or jump straight to it.
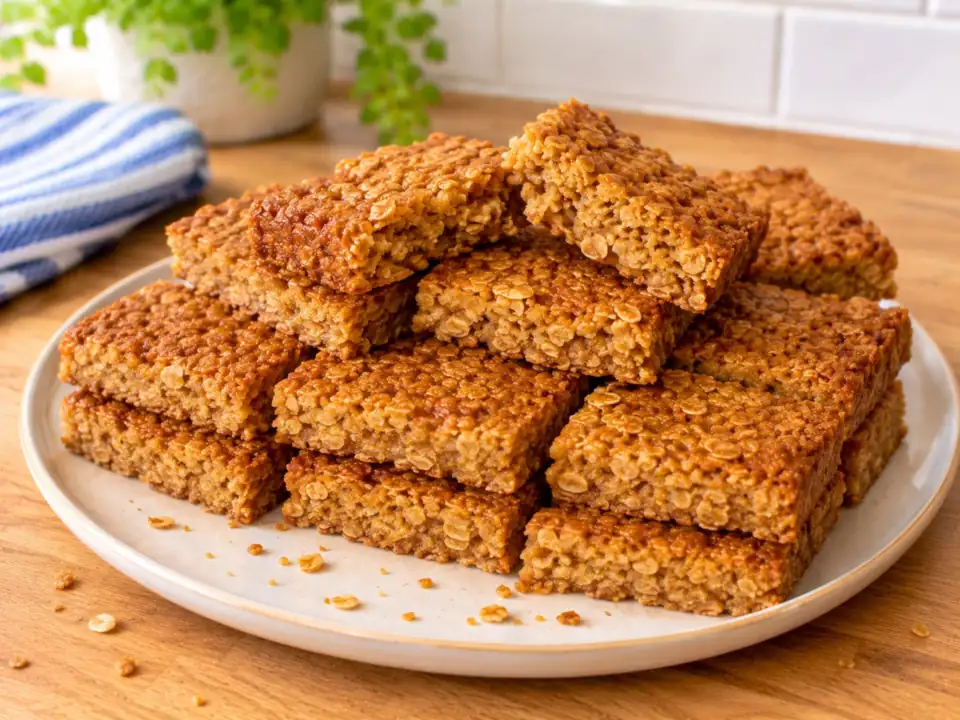 Golden syrup · porridge oats
What is a flapjack?
In Britain, a flapjack is a baked oat bar: rolled oats bound with butter, sugar and golden syrup, pressed into a flat tin, baked and cut into squares or rectangles. It is the bake of school fairs, lunchboxes and walking trips — sweet, chewy and sturdy enough to travel.
If you have arrived here from North America, one warning saves a lot of confusion: in the United States and Canada, "flapjack" means a pancake. The two could hardly be more different. Nothing on this page is a pancake — there is no batter, no frying and no maple syrup at the table.
| Point | British flapjack | American flapjack |
|---|---|---|
| What it is | A baked oat bar | A pancake |
| Main ingredient | Porridge oats | Flour batter |
| How it is cooked | Baked in a flat tin | Fried in a pan |
| How it is eaten | Cold, cut into squares | Hot, stacked, with syrup poured over |
The word is old — it was recorded centuries ago for a flat tart, and Shakespeare mentions flap-jacks in Pericles, Prince of Tyre — but the oat-based bar itself is a twentieth-century bake, first recorded under this name in 1935 and built on golden syrup, which dates from the 1880s. The classic recipe below is the plain, traditional version: no egg, no flour, nothing fancy.
The classic flapjack recipe
- Prep: 10 min
- Cook: 30–35 min
- Total: about 45 min, plus cooling
- Makes: 12 bars
Oven: 160°C / 140°C fan / Gas Mark 3. Tin: 20cm square, lined with baking paper.
Draft recipe: worked out from cross-checked published recipes and not yet kitchen-tested by us. Times are a guide — use the cues in each step.
Equipment you need
- A 20cm square baking tin.
- Baking paper (parchment) to line it, with overhang on two sides.
- A large saucepan for the melting, and a big bowl for the oats.
- A wooden spoon, kitchen scales and a wire rack.
The tin size matters. Too large, and the mixture spreads thin and bakes hard and dry; too small, and the slab is deep and stays soggy in the middle. In a 20cm tin this mixture sits about 2cm deep, which is what gives the classic its chew.
Ingredients
Method, step by step
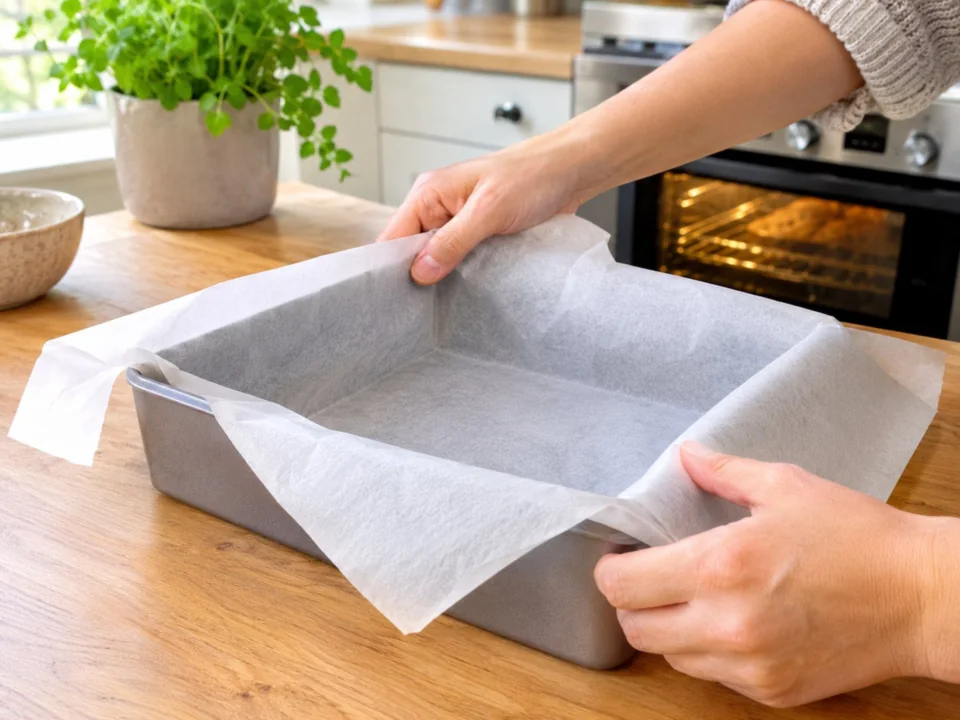
Lining the tin with baking parchment, leaving the overhang as handles for lifting the slab out later. Heat the oven and line the tin. Heat the oven to 160°C (140°C fan, Gas Mark 3) before you do anything else, so it is ready the moment the mixture is. Line a 20cm square tin with baking paper: cut one sheet a little wider than the tin, press it into the corners, and leave the paper hanging over two opposite sides. Those overhangs are the handles you will lift the whole slab out with later, so leave them long — do not trim them flush. If the paper will not sit flat, scrunch it up in your hands, open it out and press it in again; it settles much better the second time.
Cue: the paper overhangs are your handles — leave them long.
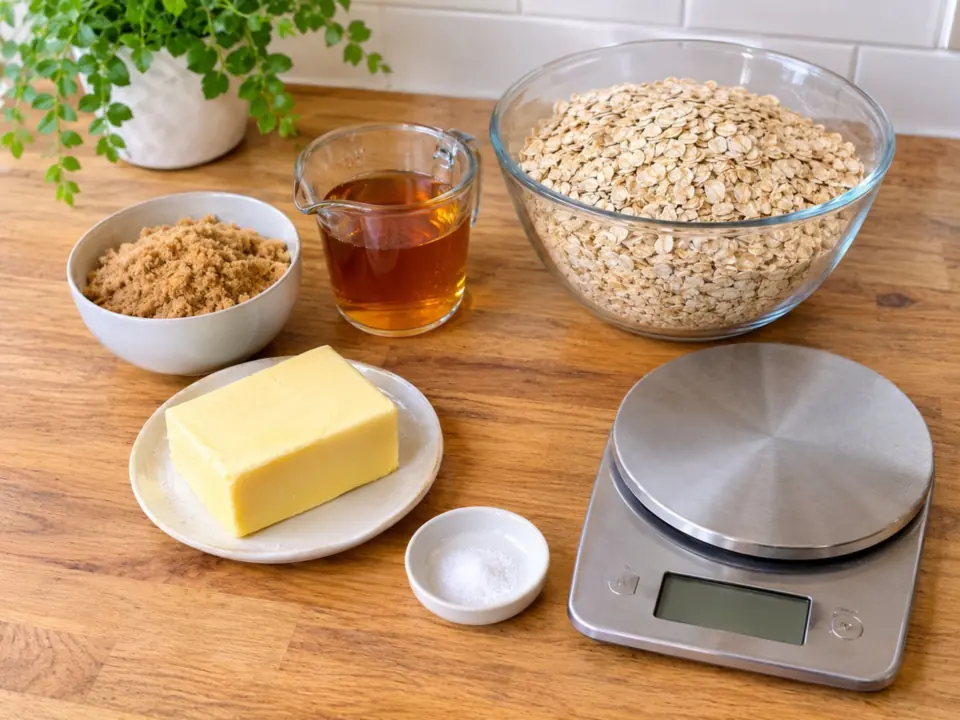
Everything weighed and ready before the pan goes on the heat — butter, sugar, syrup, oats and salt. Weigh everything out. Weigh the butter, golden syrup and sugar straight into a large saucepan — one big enough to hold the oats later as well, because everything gets mixed in this same pan. Weigh the oats into a big bowl with the pinch of salt on top. A small tip for the syrup: weigh it directly into the pan on the scales, or dip the spoon in hot water first, and it will slide off instead of staying stuck to the spoon. Have everything weighed and within reach before the pan goes on the heat — once the melting starts, flapjacks move fast and there is no spare minute for weighing.
Cue: once the pan is on the heat there is no time to weigh — everything ready first.
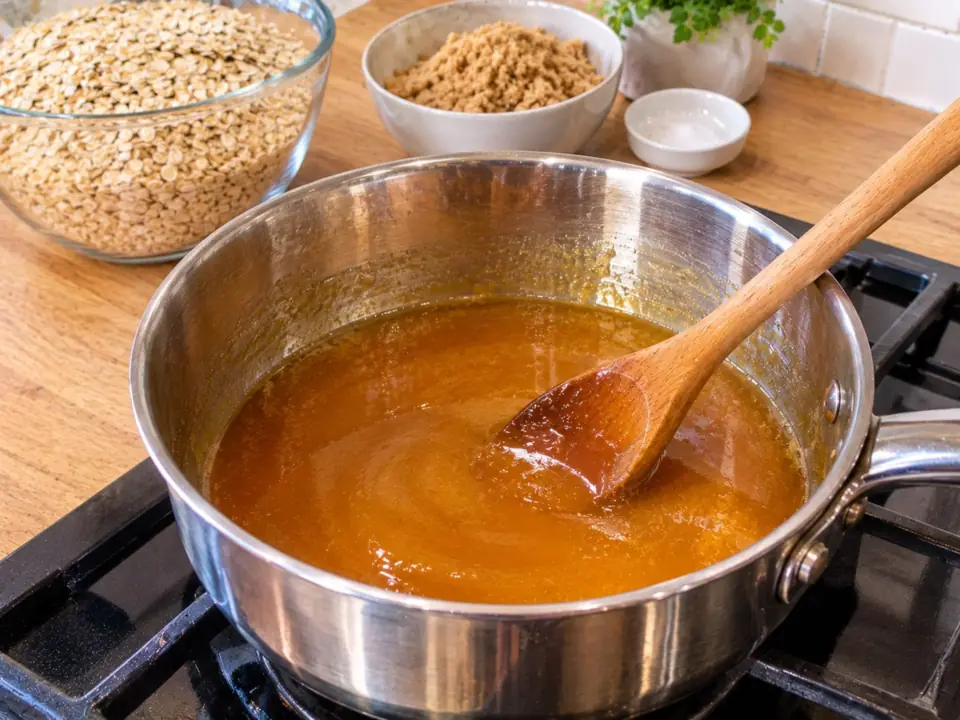
The butter, sugar and syrup melted together into a glossy liquid — the rule for this step is melt, never boil. Melt, but never boil. Put the pan on a low heat and stir slowly with a wooden spoon, moving the butter around so it melts evenly. Over about 3 to 4 minutes the butter melts, the sugar dissolves and the mixture turns into a smooth, glossy, golden liquid. Drag the spoon across the bottom of the pan: if it still feels gritty, there is undissolved sugar left, so give it another half minute. The moment it is smooth, take the pan off the heat — and do not let it bubble or boil. Boiled syrup sets like toffee, and toffee is what makes finished bars hard instead of chewy. If it starts to bubble at the edges, lift the pan off the heat and stir; that alone is enough to save it.
Cue: glossy and smooth, with no bubbles — boiling is what makes bars set hard.
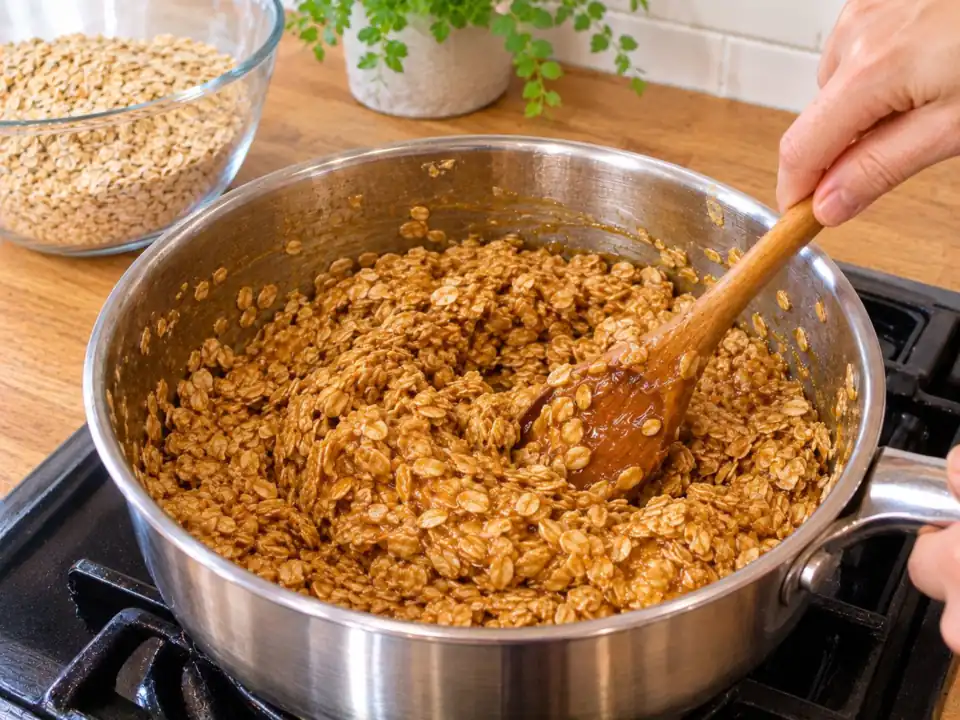
Stirring the oats through the melted mixture until every oat is coated and shiny. Stir in the oats. Take the pan off the heat and tip in all the oats, with the pinch of salt. Stir slowly from the bottom up, turning the mixture over on itself again and again — the dry oats hiding at the very bottom are the ones that cause crumbs later, so scrape right into the edges of the pan. Keep going until every single oat is coated and shiny and the mixture looks even, with no pale, dry patches anywhere. It will feel thick, heavy and sticky on the spoon; that is exactly right. And if it looks loose and sloppy, do not add more oats — the balance is deliberate, and it firms up as it cools and sets.
Cue: no dry, pale oats left anywhere — every oat coated and shiny.
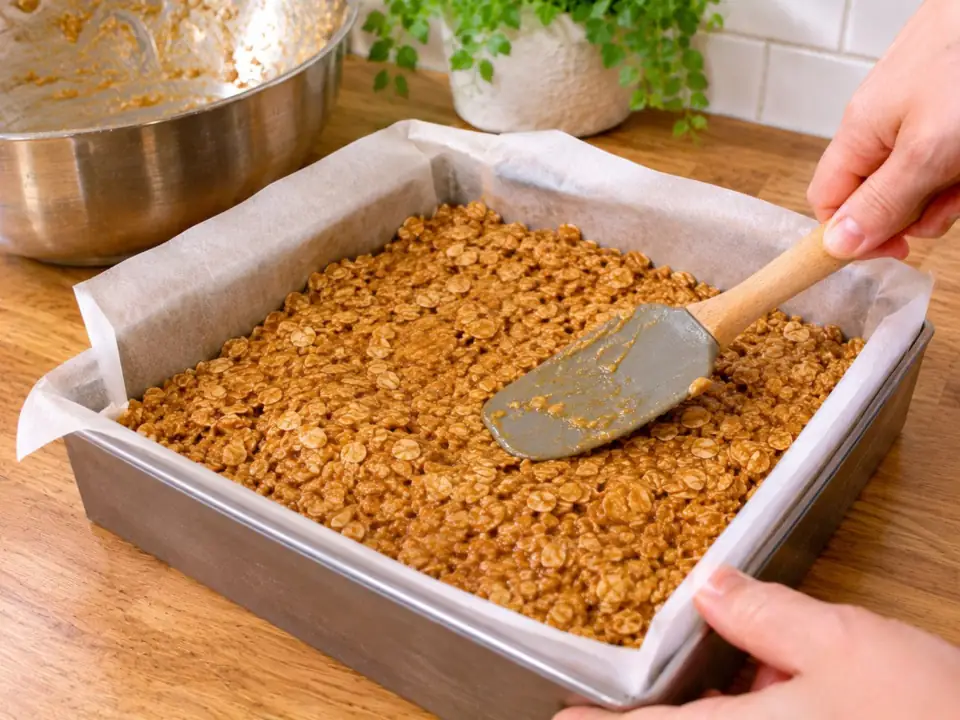
The mixture tipped into the lined tin and spread level, right into the corners. Tip it into the tin. Scrape all the mixture into the lined tin, getting as much out of the pan as you can — a flexible spatula earns its keep here. Push the mixture into the corners first, then spread it outwards with the back of a spoon until it sits level and even across the whole tin, about 2cm deep everywhere. Take a moment over the corners and edges: thin patches bake hard and dark, and a thick middle stays soggy — an even layer now is what gives you an even bake later.
Cue: an even layer, right into the corners.
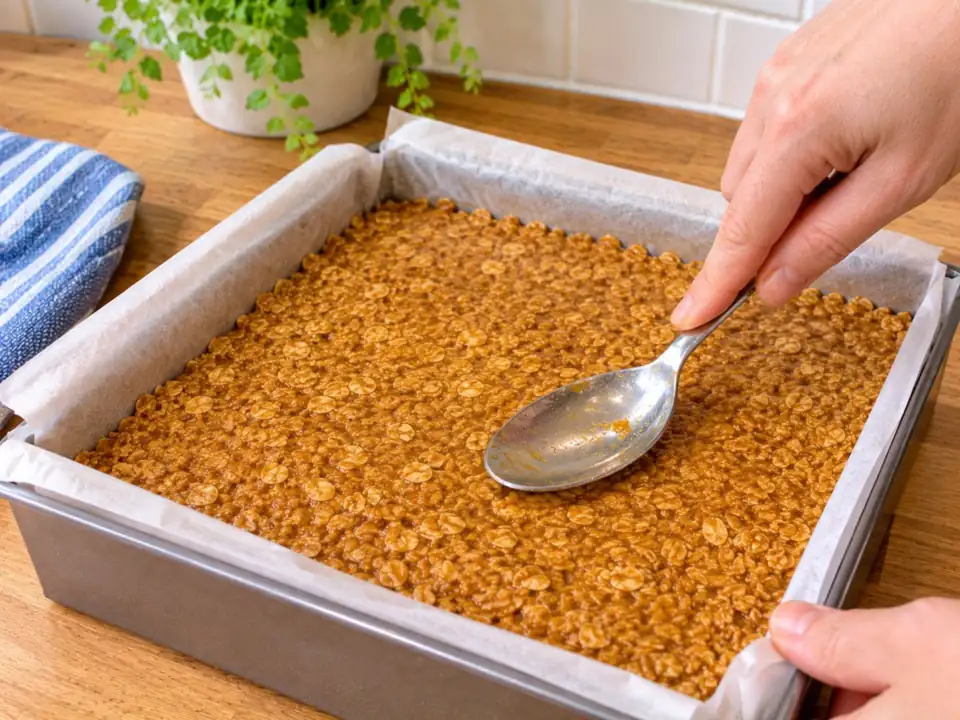
Pressing the mixture down firmly with the back of a spoon — the step that stops flapjacks crumbling later. Press down firmly. Now press the surface down — hard. Work over the whole tin with the back of a spoon or the flat base of a glass, pushing the mixture down and out into the corners until the top is flat, tight and even, with no loose oats sitting on the surface. Press firmer than feels natural: you are squeezing out the air pockets, and it is this pressing — not anything in the ingredients — that holds the baked bars together. A loosely pressed flapjack crumbles when you cut it; a firmly pressed one slices into clean, sturdy bars.
Cue: firmer than feels natural — this pressing is the difference between bars and crumbs.
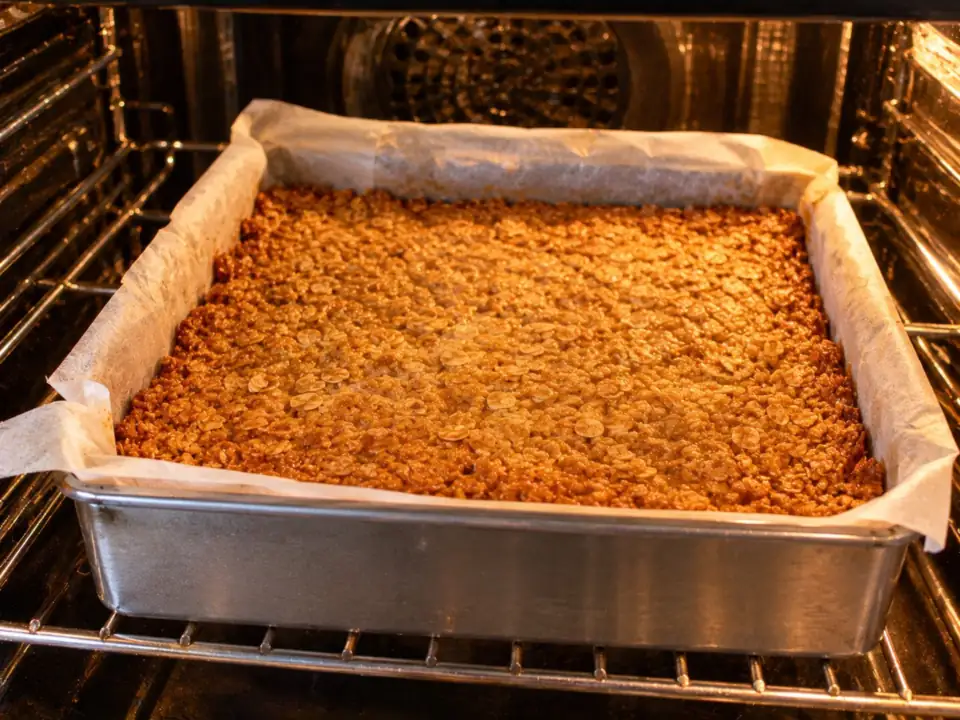
Baking on the middle shelf, until the edges are golden and the centre still looks slightly soft. Bake until the edges are golden. Slide the tin onto the middle shelf and bake for 30 to 35 minutes. Judge it by the edges first: they should be turning golden brown and just starting to pull away from the paper. The centre should still look paler, softer and slightly underdone — that is not a mistake. The slab keeps cooking gently in the hot tin and firms up as it cools, so a centre that looks fully baked in the oven will be hard by the time it is cold. If the edges colour much faster than the middle, your oven heats unevenly — turn the tin round halfway through, this time and next time.
Cue: golden edges and a centre that still looks slightly soft — it firms up as it cools.
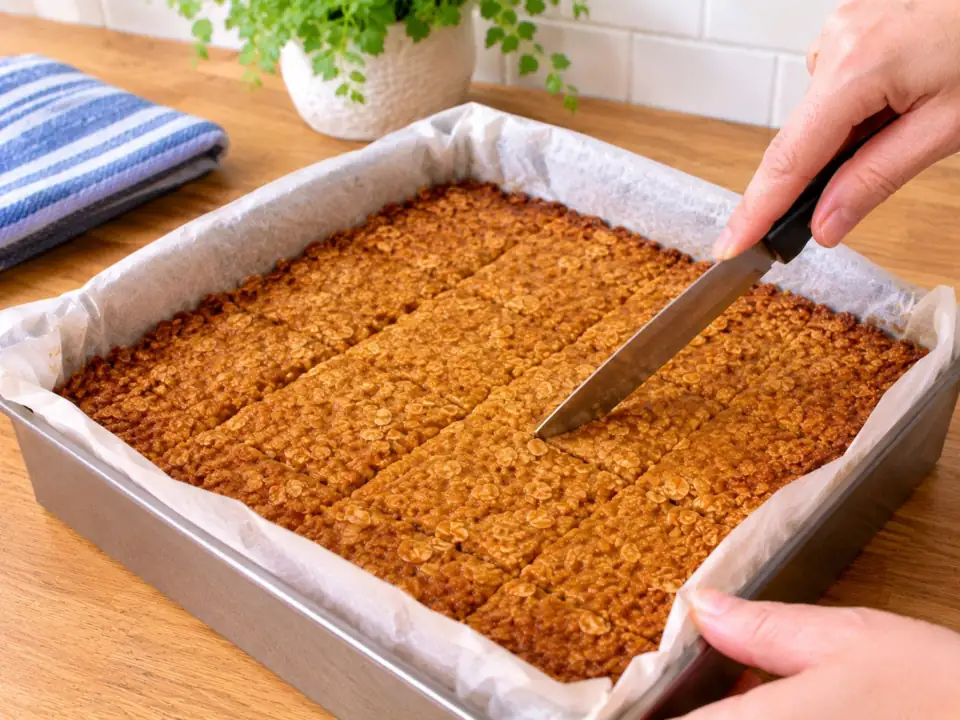
Scoring the portions while the slab is still warm — light lines now mean clean cuts later. Score the portions while warm. Leave the slab in its tin for 5 minutes — no longer, because it must still be warm for this. Then take a table knife and score light lines across the top where the cuts will go: for twelve bars, that is three lines one way and two lines the other. Press the knife in just far enough to mark the surface; do not cut through to the bottom. Scoring now, while the slab is soft, is what gives you clean edges later — a cold slab cut without score lines tends to crack and shatter along the cut.
Cue: light score lines now mean clean cuts later.
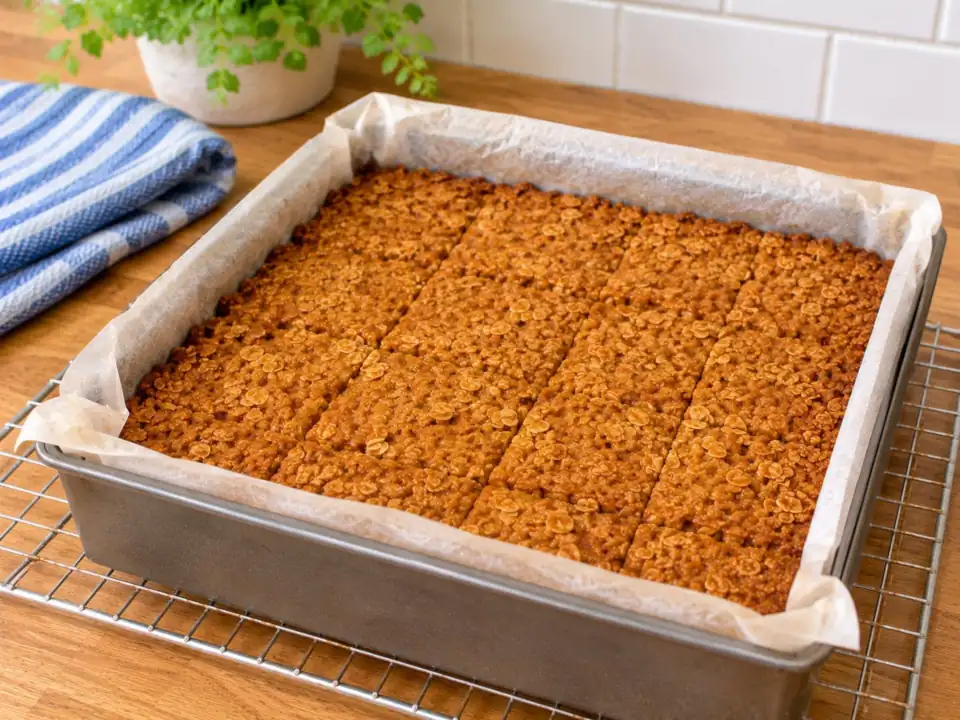
The scored slab cooling in its tin on a wire rack, until it is completely cold and set. Cool completely in the tin. Put the tin on a wire rack and leave the flapjack completely alone until it is cold right through and firmly set — about 1 hour. This is the step people rush, and it is the main reason bars fall apart: a warm flapjack has not finished setting, because the syrup holding it together is still soft. Do not lift it out, do not cut it, and do not be tempted by a warm corner. When the base of the tin feels cool against your hand, it is ready for the knife.
Cue: completely cold and set — a warm flapjack has not finished.
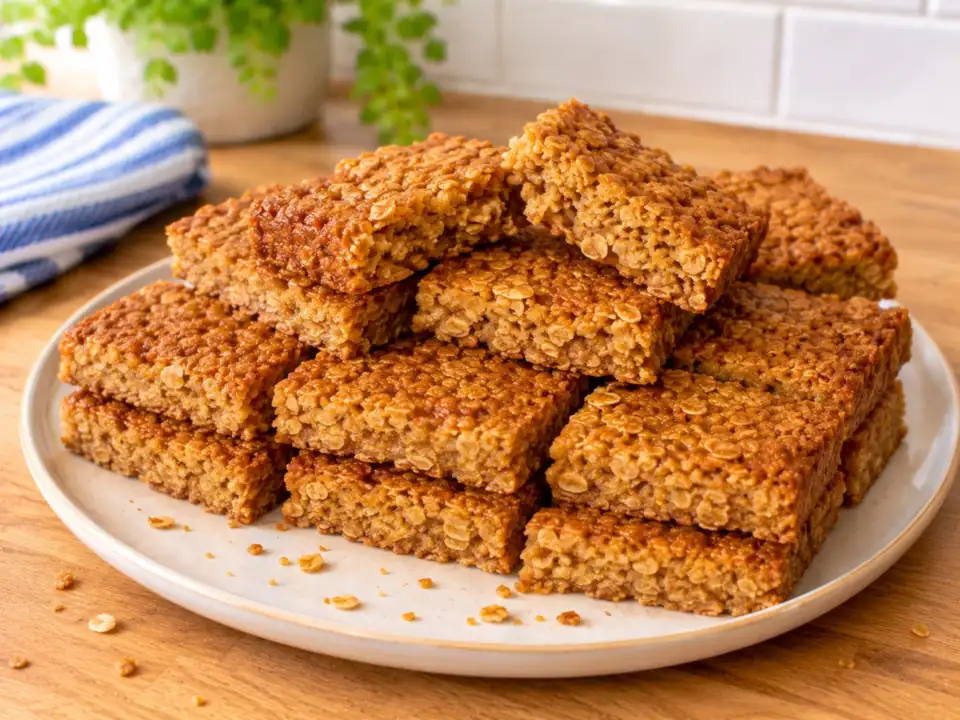
Cut along the scored lines once the slab is cold — twelve neat, chewy bars. Lift out and cut. Lift the cold slab out of the tin using the paper overhangs and set it on a chopping board. With a large sharp knife, cut along the scored lines, pressing straight down in one firm movement — do not saw backwards and forwards, which drags at the edges and makes crumbs. If the knife gets sticky, wipe it on a damp cloth between cuts. You should have twelve neat, chewy bars with clean edges. And if one corner piece crumbles, it was almost certainly a loose corner back at the pressing stage — it will still taste exactly as good.
Cue: press straight down with a long knife, and you get twelve neat bars.
Recipe notes. Judge the bake by the cues, not only by the clock — ovens vary by more than the dial says. The two mistakes that ruin flapjacks are boiling the melted mixture and leaving the tin in too long; both are covered in the tips further down this page.
Flapjack Video: The Whole Method in 40 Seconds — Melt, Stir, Press, Bake
New to flapjacks? Press play and watch the whole method in 40 seconds: butter, syrup and sugar melting to a glossy liquid, the oats stirred through until every one is coated, then the firm press, the bake and the slice. Pause it at any step — the stir is the moment that matters most, because that is where the bars' chew is made.
The Classic Flapjack Ratio: Equal Butter, Syrup and Sugar, Twice the Oats
The classic flapjack ratio is easy to remember because three of the four ingredients match: equal weights of butter, golden syrup and sugar, with twice that weight of oats — 175g, 175g, 175g and 350g. Each part does a job. The butter gives richness and helps the bars set firm when cold. The golden syrup is the glue: it coats every oat and sets into that chewy bite. The sugar dissolves into the syrup for sweetness and a slight caramel edge. The oats are the body — too few and the bars are greasy and floppy; too many and there is not enough syrup to bind them, so they crumble.
Once you know what each part does, the common failures explain themselves. Hard bars were usually boiled or overbaked — the syrup cooked too far. Crumbly bars were under-pressed, under-syruped or cut while warm. Greasy bars had too much butter for the oats. Every variation on this site starts from this ratio and changes one thing at a time, so you can see what the change does.
Every Flapjack Recipe on This Site — Easy, Healthy, Vegan, Chocolate and More
Every version below starts from the classic ratio above and changes one thing at a time — so you can pick by what you need: lighter, easier, chewier, fruitier or fully vegan. Each one has its own page, with its own full recipe, tips and questions.
Easy Flapjack Recipe: 4 Ingredients, One Pan, Ready in 35 Minutes
Four ingredients, one pan and the simplest method of all — butter, light brown sugar, golden syrup and oats, baked for 20 minutes. This is the version to make first, and the one to bake with children: nothing to chop, nothing to separate, and a result that forgives small measuring mistakes.
- Four ingredients, nothing to chop
- One pan — no mixer, no separate bowls
- Soft, chewy bars in about 35 minutes
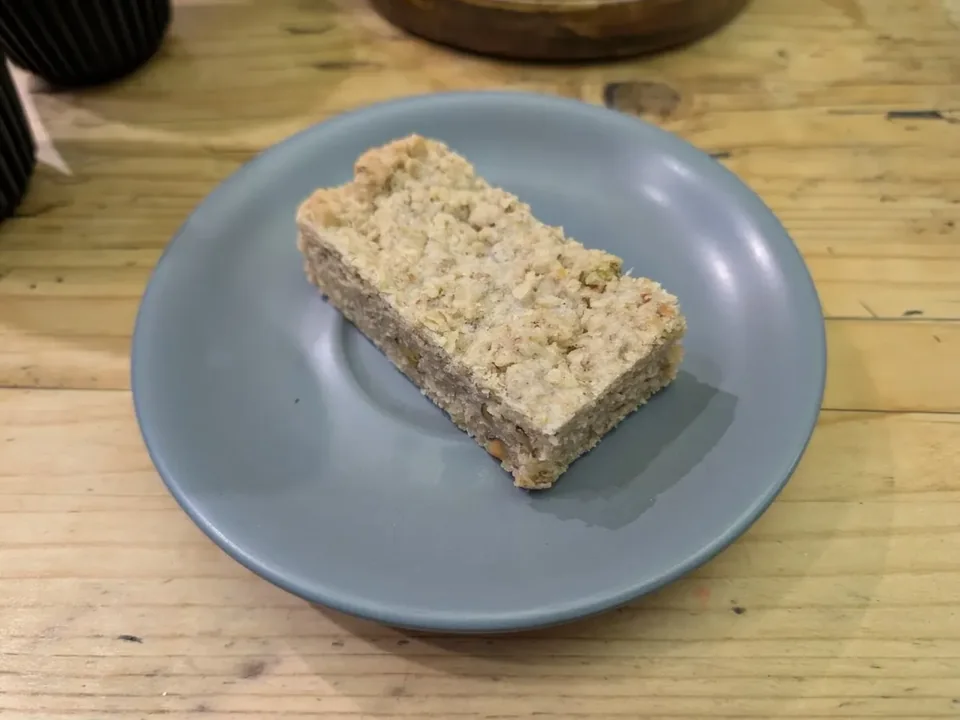 The simplest bake on this site
Healthy Flapjack Recipe: Banana and Dates, No Refined Sugar
The lighter version, honestly labelled: mashed banana and date paste do the sweetening instead of refined sugar, and the butter drops to a third of the classic. It is still a sweet bake — but it is a genuinely lighter one, with the swaps explained rather than hidden.
- Banana and date paste do the sweetening
- Butter drops to a third of the classic
- The swaps explained, not hidden
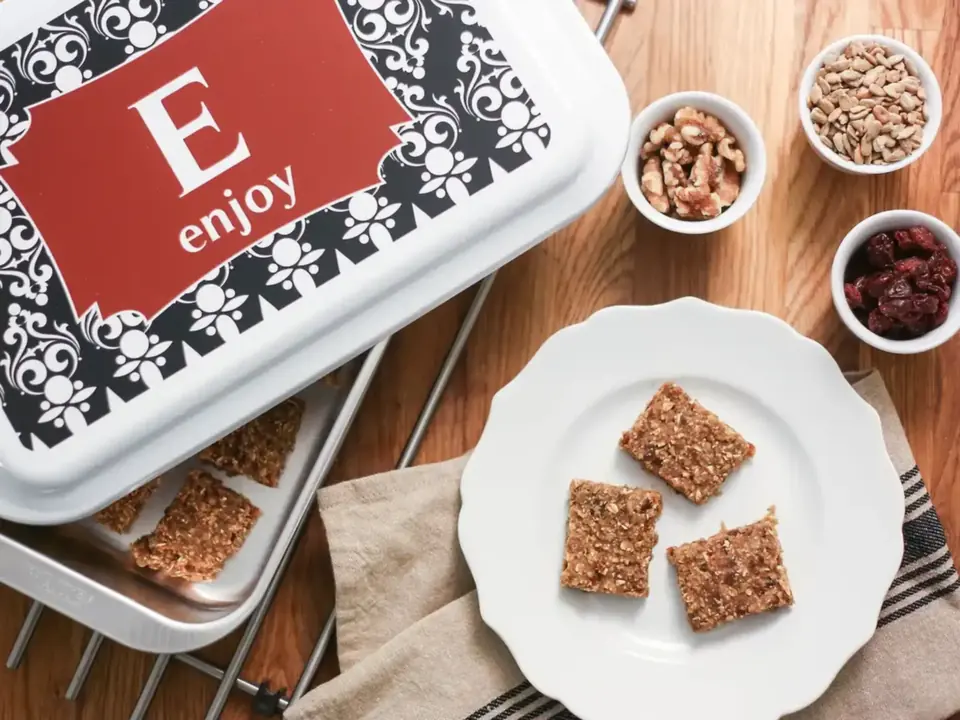 Sweetened by fruit, not sugar
Banana Flapjack Recipe: 3 Ripe Bananas for Soft, Moist Bars
Three ripe bananas — the browner the better — mashed into the mix with cinnamon and less sugar than the classic. The bars come out soft, moist and almost cake-like in the middle, and they are the best way yet invented to use up the bananas nobody ate.
- The best use for bananas nobody ate
- Less sugar than the classic
- Soft, almost cake-like in the middle
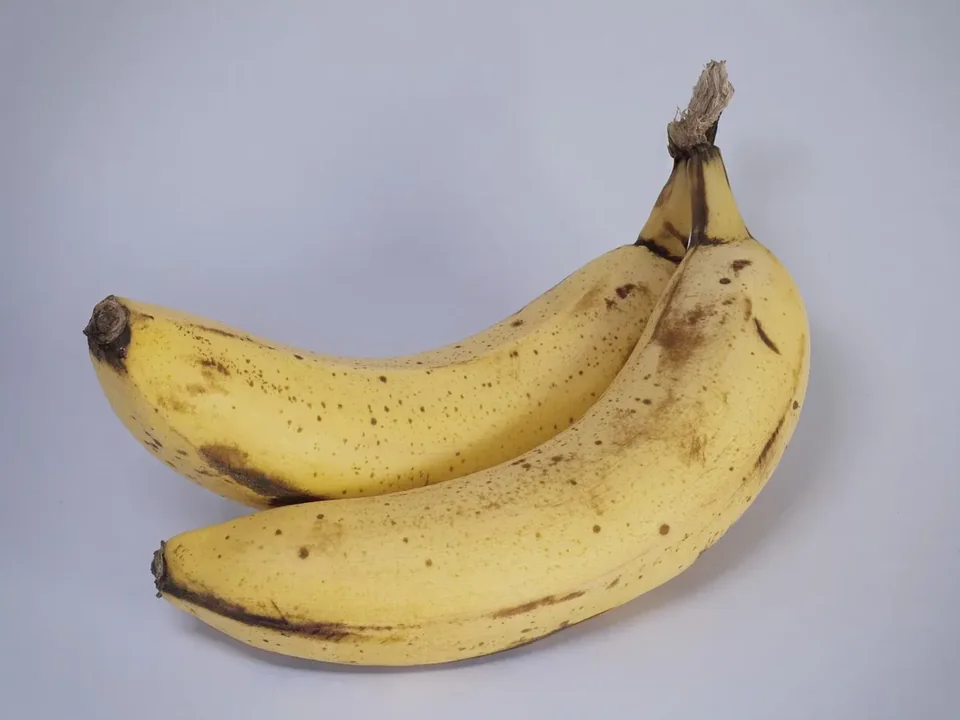 The browner, the better
Protein Flapjack Recipe: Peanut Butter Bars, Baked or No-Bake
The filling version: peanut butter and protein powder worked into the classic base for a sturdy, chunky bar that keeps you going — with a baked version and a no-bake version, and an honest explanation of how the protein figure is worked out rather than invented.
- Peanut butter and protein powder in the base
- A baked version and a no-bake version
- The protein figure explained, never invented
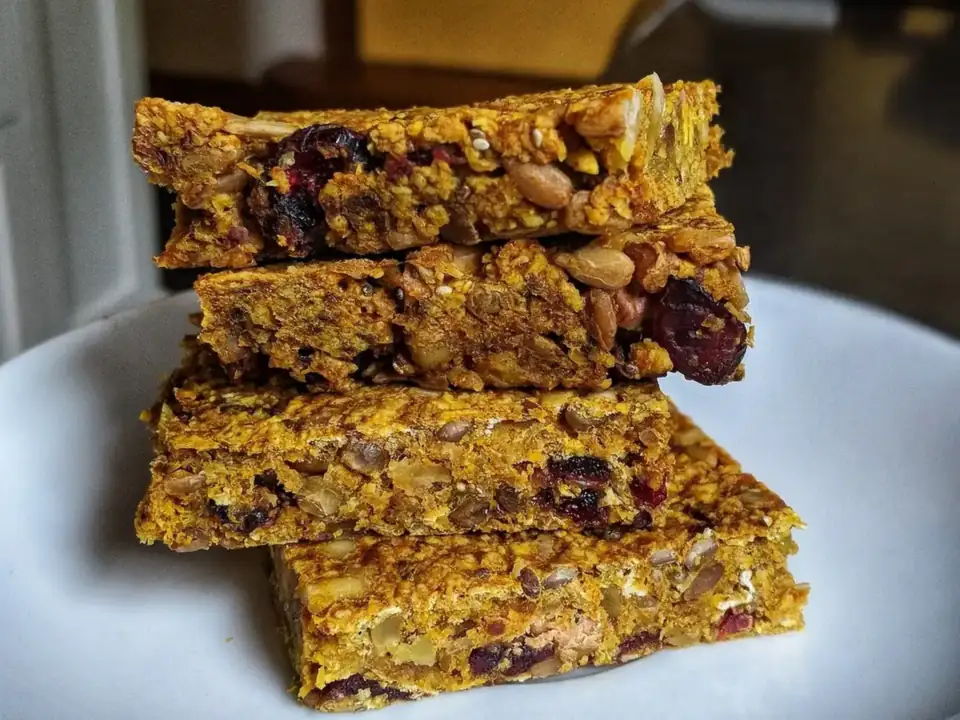 Built to keep you going
Chocolate Flapjack Recipe: 3 Ways — Topping, Chips or Cocoa
Three ways to take the classic chocolate, depending on what you have in the cupboard: a proper layer of dark chocolate on top, chocolate chips stirred through, or cocoa in the mix itself. One base recipe, three finishes — and the chilling rule that stops the top cracking.
- A proper layer of dark chocolate on top
- Chocolate chips stirred through
- Or cocoa in the mix itself
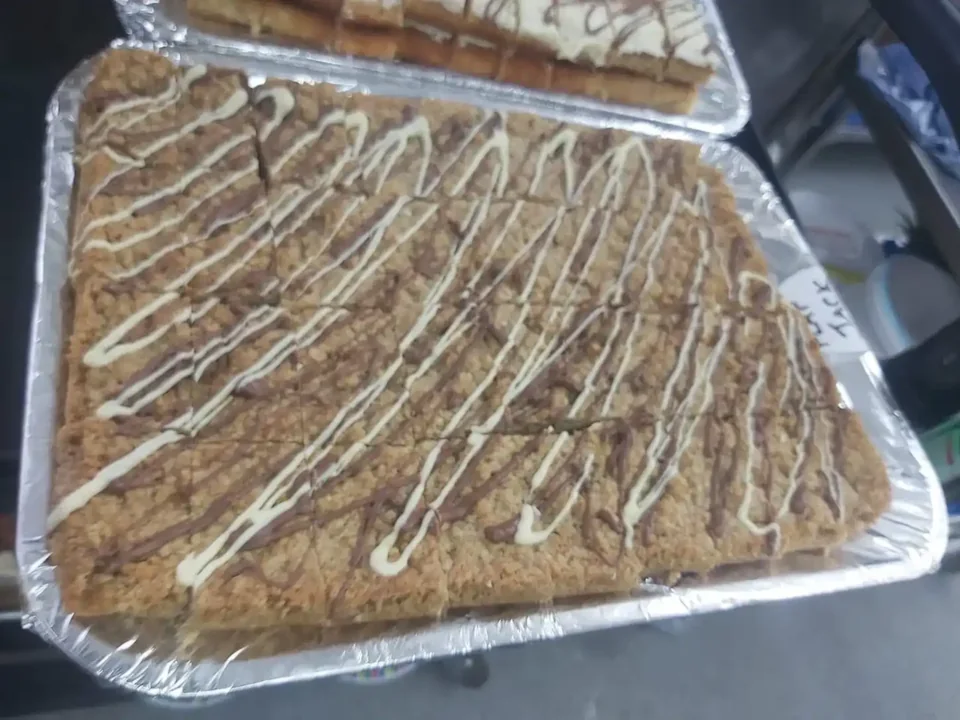 Three chocolate routes
Honey Flapjack Recipe: Runny Honey Instead of Golden Syrup
Golden syrup swapped for runny honey, like for like by weight. The flavour turns gentler and more floral, the mixture browns faster, and the timings on this page are adjusted for both — with the honest note, stated plainly, that honey is still a sugar.
- Swapped for golden syrup by weight
- Browns faster — timings adjusted
- Stated plainly: honey is still a sugar
Gentler, more floralVegan Flapjack Recipe: Coconut Oil and Golden Syrup, No Butter or Honey
No butter and no honey: coconut oil or a dairy-free baking block does the binding, and golden syrup — which is vegan — does the sweetening. The coconut oil has to be the refined kind, and this page explains why, so the bars taste of oats and syrup rather than coconut.
- Coconut oil or a dairy-free baking block
- Golden syrup does the sweetening
- Refined coconut oil, so no coconut taste
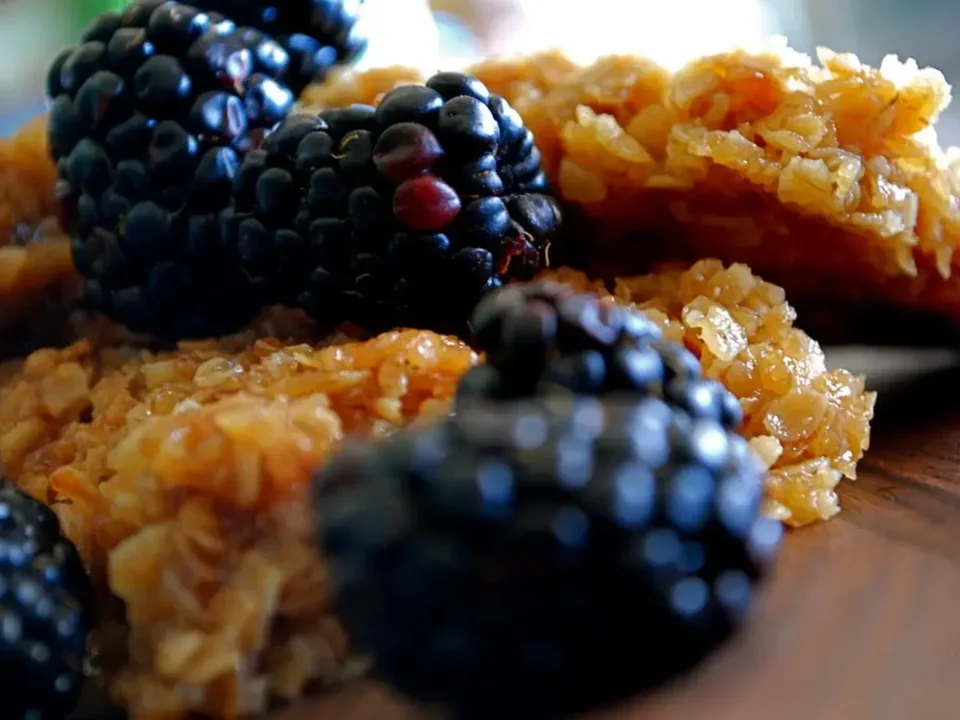 Golden syrup is vegan
Chewy Flapjack Recipe: Condensed Milk for Bars That Stay Soft
For everyone whose flapjacks come out hard: this version adds sweetened condensed milk and comes out of the oven while the centre is still soft, so the bars stay bendy for days. The page includes a chew dial — bake longer for firmer, shorter for softer — and a table of what makes bars hard in the first place.
- Sweetened condensed milk in the mix
- Out of the oven while the centre is soft
- A chew dial, plus what makes bars hard
Cool fully before cuttingFruit Flapjack Recipe: 200g Dried Fruit, Soaked for Plump Bars
The classic base carrying a full 200g of dried fruit — raisins, apricots and cranberries — soaked for ten minutes first so the fruit stays plump instead of scorching. Orange zest lifts the whole tin, and the bars keep for five days, improving as they go.
- Raisins, apricots and cranberries
- Soaked for 10 minutes so they stay plump
- Keeps for 5 days, improving as it goes
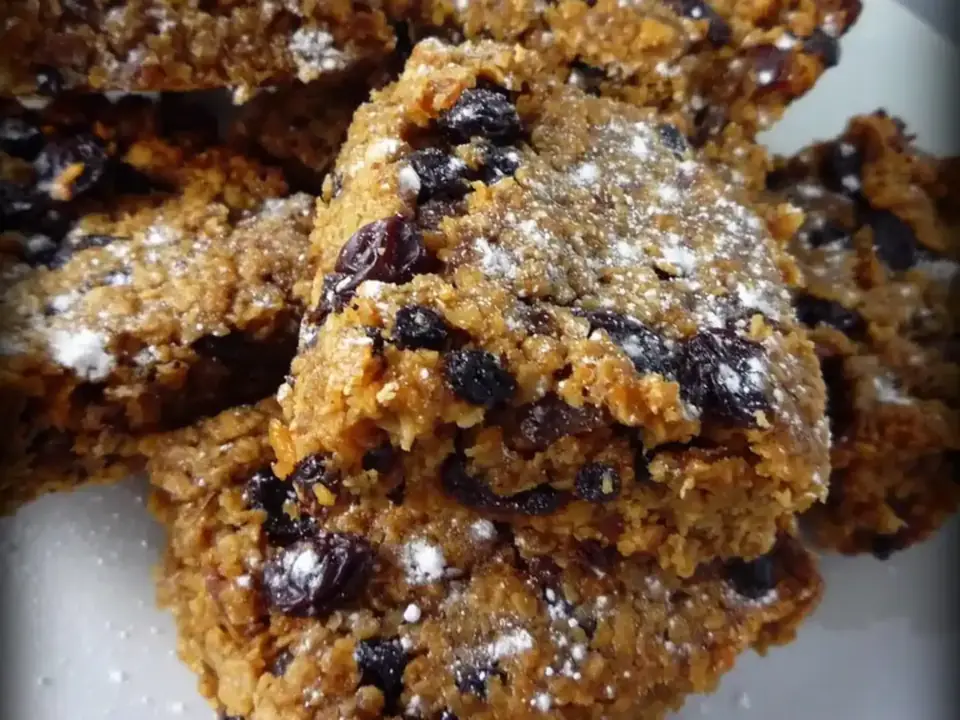 Soak the fruit first
Best Flapjack Recipe: Our 5 Versions Compared Side by Side
Not sure which version to bake? This guide compares our own five — classic, chewy, healthy, easy and chocolate — side by side for chew, sweetness, effort and keeping, and tells you which one wins for lunchboxes, for bake sales and for a first attempt.
- Classic, chewy, healthy, easy, chocolate
- Compared for chew, sweetness, effort, keeping
- A pick for lunchboxes, bake sales, first bakes
Judged against the classicFlapjack Variations: 15 Ways to Change the Classic Recipe
All fifteen variations in one place: ginger, coffee, marmalade, peanut butter, apple and cinnamon, and ten more — each with what to change, what to keep, and what it tastes like, plus a choose-by-need table that picks the right one for the job.
- Ginger, coffee, marmalade, peanut butter and more
- What to change and what to keep, for each one
- A choose-by-need table to pick the right one
Change one thing at a timeFlapjack Tips: Keep Your Bars Chewy — Not Hard, Not Crumbly
Do not boil the syrup mixture. Melt it gently and stop. Boiling drives the syrup towards toffee, and toffee sets hard — this is the single most common cause of flapjacks you could use as doorstops.
Press harder than you think. A loose, airy layer bakes into crumbs. A firmly pressed layer bakes into a bar. Work the corners as carefully as the middle.
Take it out soft. The bar sets as it cools, so a centre that looks slightly underdone in the oven is exactly right. Wait for a deep golden centre and you have baked a biscuit.
Cool before you cut. Score while warm by all means, but the knife only goes through once the slab is cold and set.
| Result you want | Oven | Time | What to look for |
|---|---|---|---|
| Chewy | 160°C / 140°C fan / Gas 3 | 30–35 min | Golden edges, centre still soft and pale |
| Crunchy | 170°C / 150°C fan / Gas 4 | 35–40 min (estimate) | Golden all over, centre firm to a light touch |
The crunchy row is an estimate from the classic method, not a separately tested recipe — ovens vary, so watch the colour, not just the clock.
Storing Flapjacks: 5 Days in the Tin, 3 Months in the Freezer
Flapjacks are one of the best bakes for making ahead: they keep in an airtight tin at room temperature for up to 5 days and, if anything, soften and improve over the first day or two. There is no need to refrigerate them — the fridge dries them out. Keep the tin somewhere cool and out of direct sunlight, with a sheet of baking paper between layers if you stack them.
You can also freeze flapjacks. Wrap the cut bars individually or layer them with baking paper in a freezer box; they keep for up to 3 months. Defrost at room temperature for a couple of hours — no reheating needed. The uncooked mixture does not freeze well, so always bake first, then freeze.
Flapjack Tin and Temperature: A 20cm Tin at 160°C, Middle Shelf
The recipe is written for a 20cm square tin, which gives bars of a good thickness. A smaller tin makes thicker bars that need a few minutes longer; a larger tin makes thin, crisper bars that need a few minutes less and are easier to overbake. No square tin? A 20cm round tin or a small roasting tin of a similar area both work — judge by depth: you want the pressed mixture about 2cm thick.
Bake on the middle shelf, where the heat is most even. The temperature that matters most is restraint: flapjacks baked gently at 160°C stay chewy, while a hot oven races them towards hard. If your oven has no markings you trust, an inexpensive oven thermometer removes the guesswork.
Flapjack Blog: Guides, Fixes and Answers
The blog is where the questions this page cannot hold will live: why flapjacks turn out hard, how to fix a crumbly batch, which oats to buy, how to make them without butter or golden syrup, and dozens more. The first guides are being written now.
Flapjack FAQs: Oats, Keeping, Freezing and Fixes
Ordinary porridge oats — the standard rolled oats sold for porridge — give the classic chewy texture. Jumbo oats make a chunkier, more crumbly bar, and instant oats go soft and pasty. If you only have jumbo oats, blitz a third of them briefly so the mix still binds.
Almost always one of two things: the butter, syrup and sugar mixture boiled while melting, or the bars baked too long or too hot. Melt gently without boiling, and take the tin out while the centre still looks soft — it sets as it cools.
Yes — swap it like for like by weight. Honey is runnier and browns faster, so check the bake a few minutes early. The flavour changes too: gentler and more floral. Our honey flapjack recipe is built around the swap, and remember honey is still a sugar.
In an airtight tin at room temperature, classic flapjacks keep well for up to 5 days and often taste better on day two. There is no need to refrigerate them. Fruit-heavy and banana versions keep for less time — about 3 days — because of the extra moisture.
Yes. Freeze the baked, cut bars in a box with baking paper between the layers for up to 3 months. Defrost at room temperature for a couple of hours. Bake first, then freeze — the raw mixture does not freeze well.
The classic recipe contains neither — it is just oats, butter, sugar, golden syrup and a pinch of salt. That makes flapjacks simpler than most bakes, though they are not gluten-free unless you use certified gluten-free oats, as oats are often milled alongside wheat.
The usual causes are cutting while still warm, pressing too lightly, or using too many oats for the syrup to coat. Press the mixture down firmly, score while warm, then wait until the slab is completely cold before cutting.
Contact Flapjack Recipe: Questions, Corrections and Recipe Help
Questions about a recipe, a correction, or an idea for a guide — write to flapjackrecipe@gmail.com, or prepare an email here. Fill in the form and press the button: nothing is sent by this website — the form opens your own email app with your message addressed and written out, ready for you to check and press send yourself. Until you press send in your own app, nothing has been sent, and this website stores nothing you type here.